
There have been many solutions over the years that seek to put your solutions into source control and “decompile” them so you can work on individual components. In looking at the new/preview features for GIT integration with PowerApps it’s exciting to see the work that’s being done here.
It should be noted at the time of this writing, you can only connect to an Azure DevOps GIT instance. For all that great licensing information, you can check here.
Getting Started
Before you get into connecting your solution to GIT you will need to setup your GIT Connection.

This can be done at an Environment and/or Solution level. The choice you make here will be bound to your environment forever, so choose wisely (I did not).
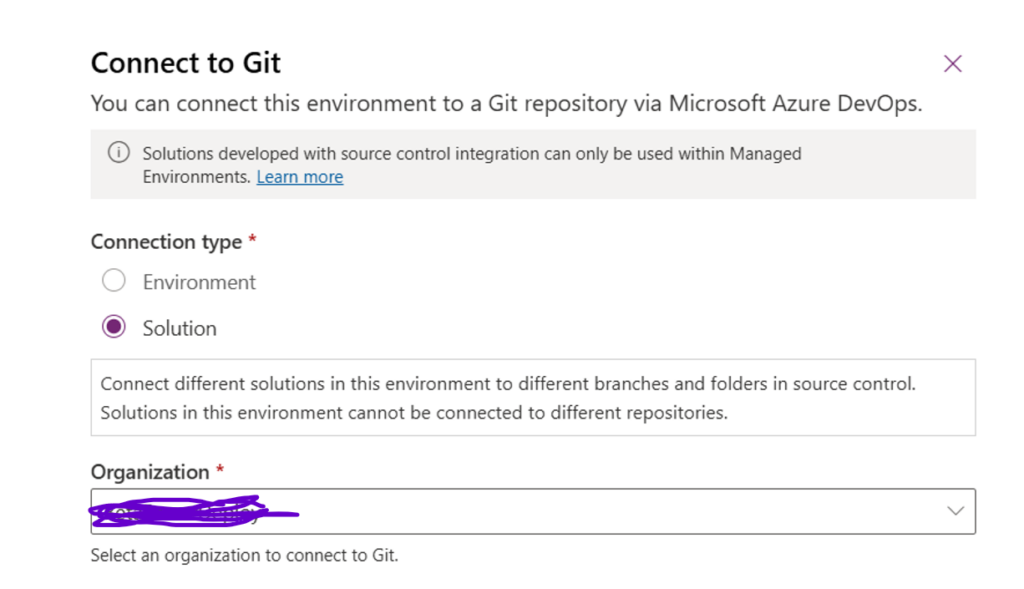
Environment – binds every solution into a single branch in your GIT repository.
Solution – binds every solution to its own branch in your GIT repository.
More information on this delineation is available here.
Once you’ve set your baseline GIT configuration, it’s simply a matter of clicking “Enable for Source Control” and then you’ll see your solution window represented as follows.

Accessing Source Control Information
When you navigate to your solution you will see a new section “Source Control (Preview)” that will allow you to see changes you have made in your environment that ARE NOT in your repository.
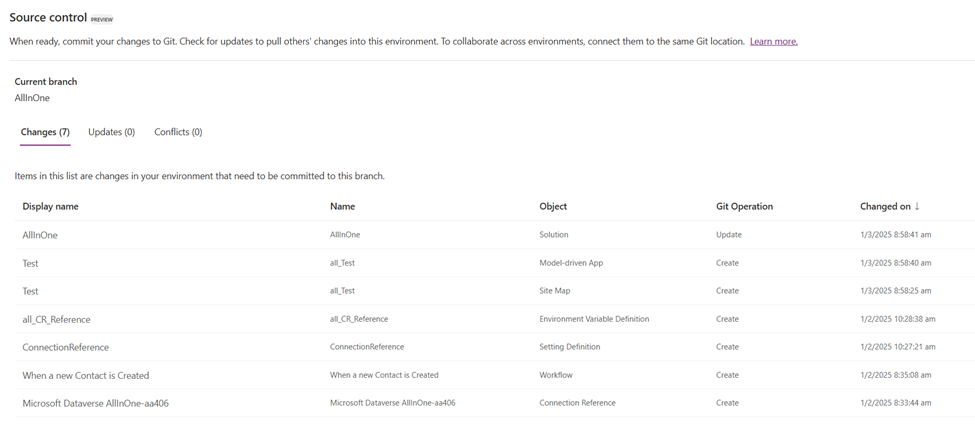
If you want to commit them, selecting commit will prompt you for a message.
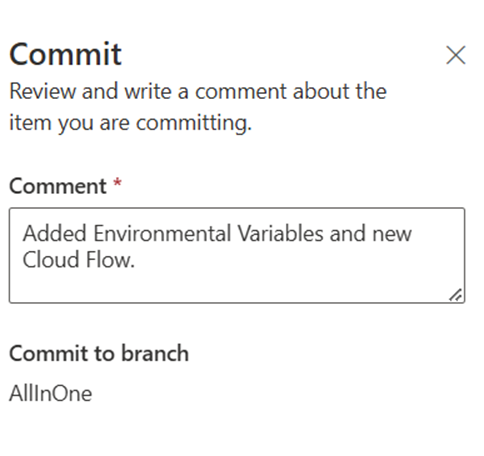
And subsequently, check your code in your GIT repository.

The result when you go to look at GIT is all your code is nicely broken out if you had expanded the solution file yourself.
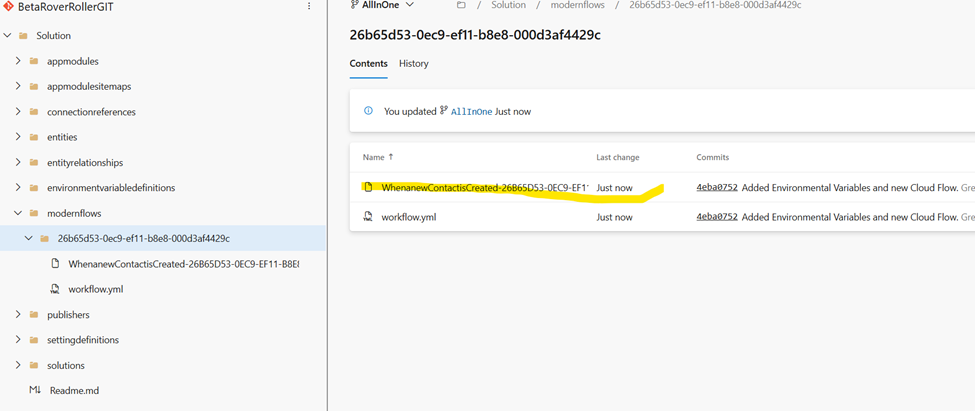
In this example, I already had an integration setup with some baseline entities and then did a commit with new components I had added to the PowerApps solution (name flows and variables).
I have some tests and validations to run, but coupled with changes to PowerApps pipelines, this is a great step to bringing full-fledged ALM integration without additional tools to PowerApps.