By far, one of the best features of the APIM Developer Portal is allowing your users to use your APIs through a self-service center that will drastically simplify support time.
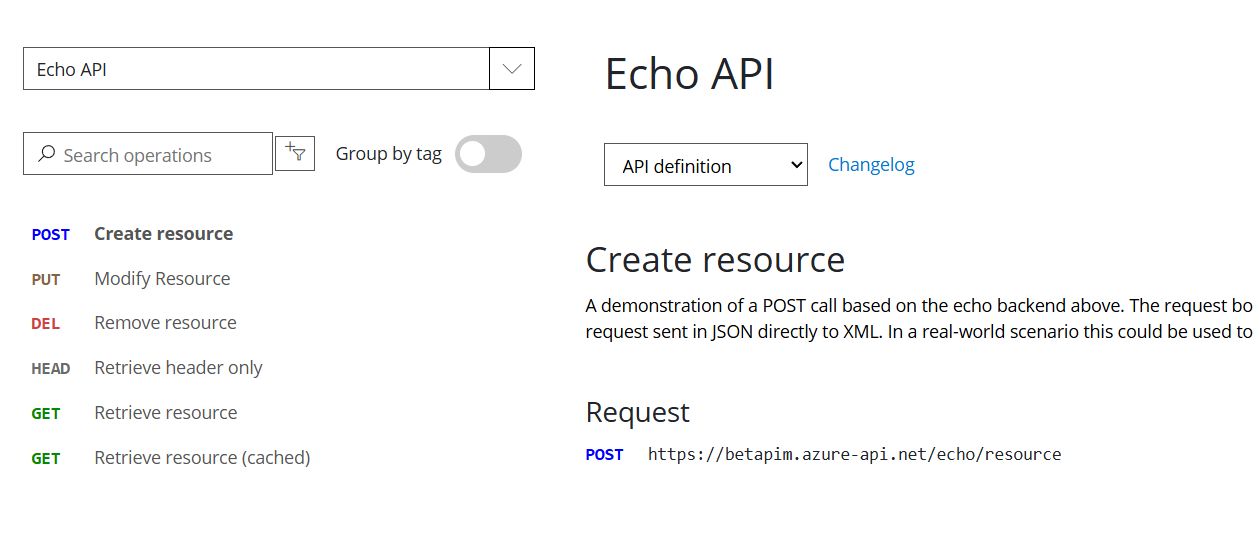
After you login, if you go to the APIs and select one of the APIs you will see all of your API methods and can even toggle between the different versions you have created.
Now, if you’re going to make this a self-service endeavour, you are going to want to add some content so people aren’t always reaching out for you to figure out what a method does.

Comments and Descriptions
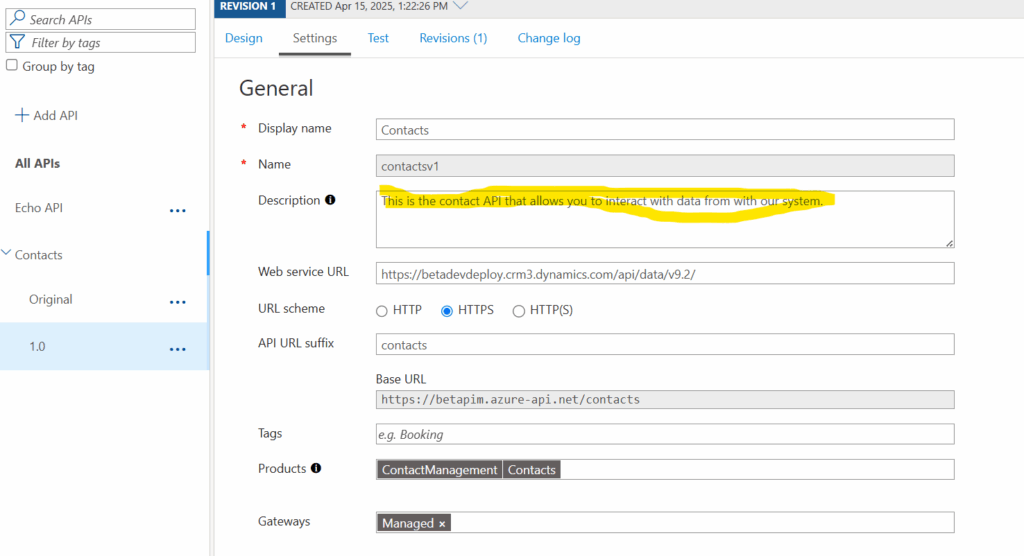
Going back to our API, on the main implementation, you’ll see we have a description, Here I am going to add some information about our API as a whole.
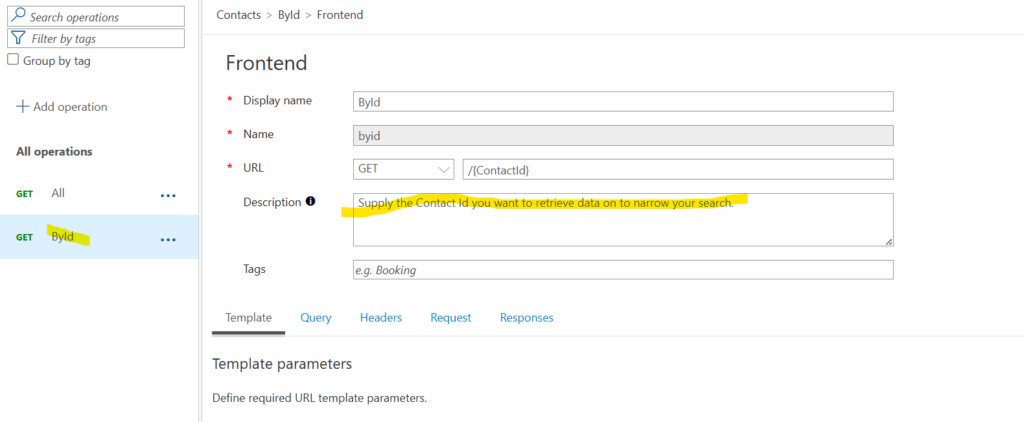
Same with our methods, a little commenting never hurt anyone.
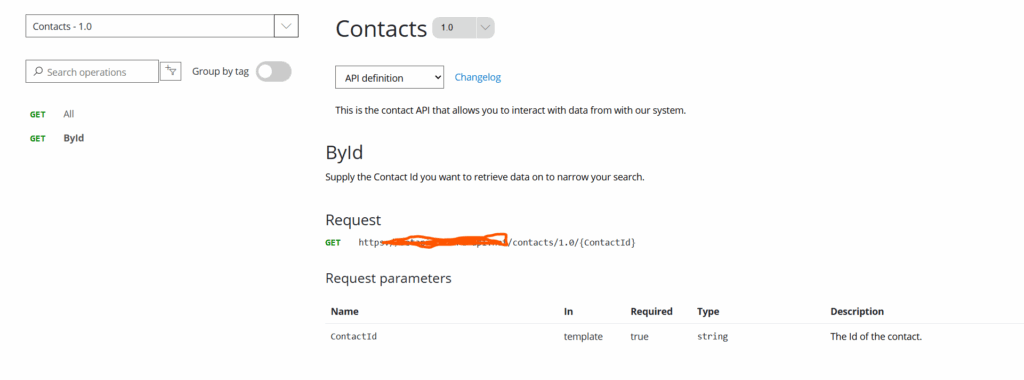
Now, when we go back to our API screen, things are going to look pretty professional.
Try it Button
By far, the best feature of the Portal is the “Try It” Button.

When clicked, it’ll take you to a page where you can fill in parameters, load your subscription key, and validate your API.
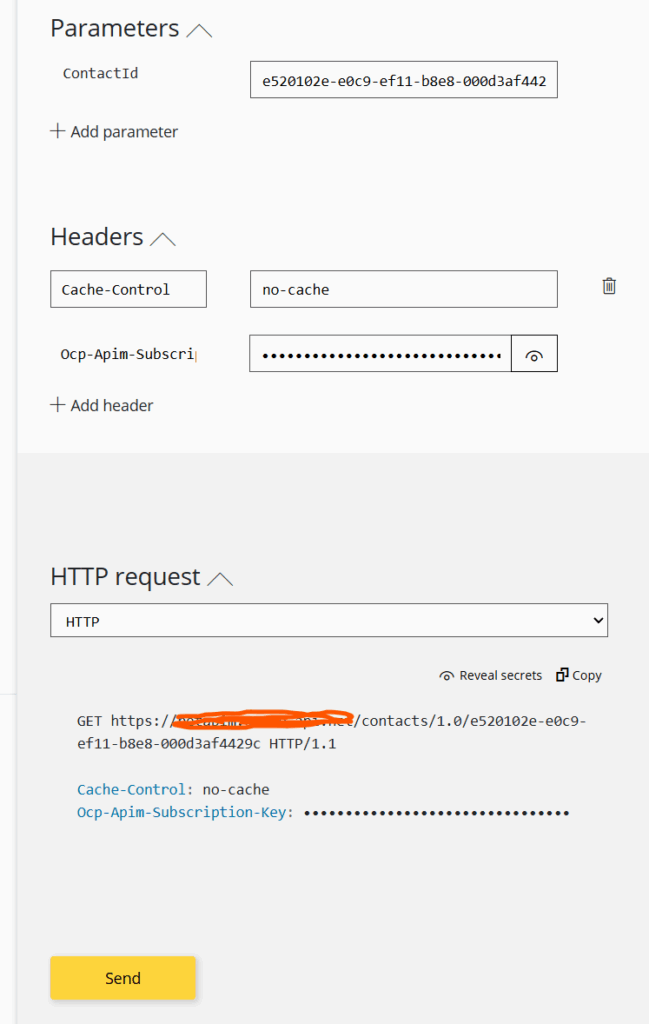
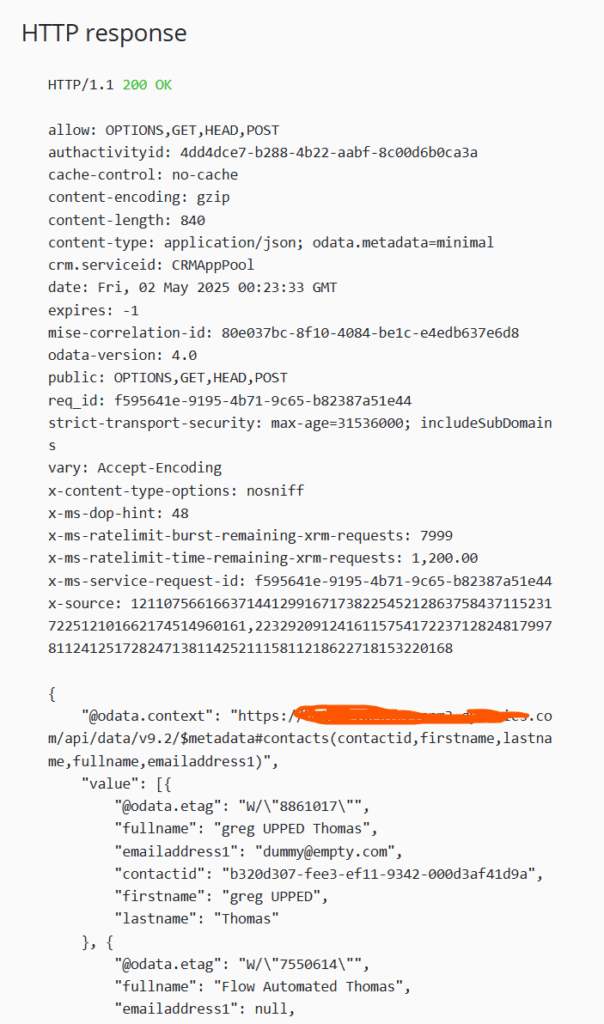
And after you click send, you should get an even longer window with your result set.
Enable CORS
If the first time you ran this and you received a 503: Unavailable, chances are you have not enabled CORS within APIM. Depending on where your users are coming from you can secure your APIs to only receive traffic from certain domains.
If, you want to enable globally, you can go back to the Portal Overview page where you published your Developer Portal from and click “Enable CORS”. Then go back and run your API again and you should see the above flow work.
