In my previous post on Adaptive cards, I highlighted some of the base functionality with Adaptive Cards, and although that is cool, it’s not the coolest.
Input Elements
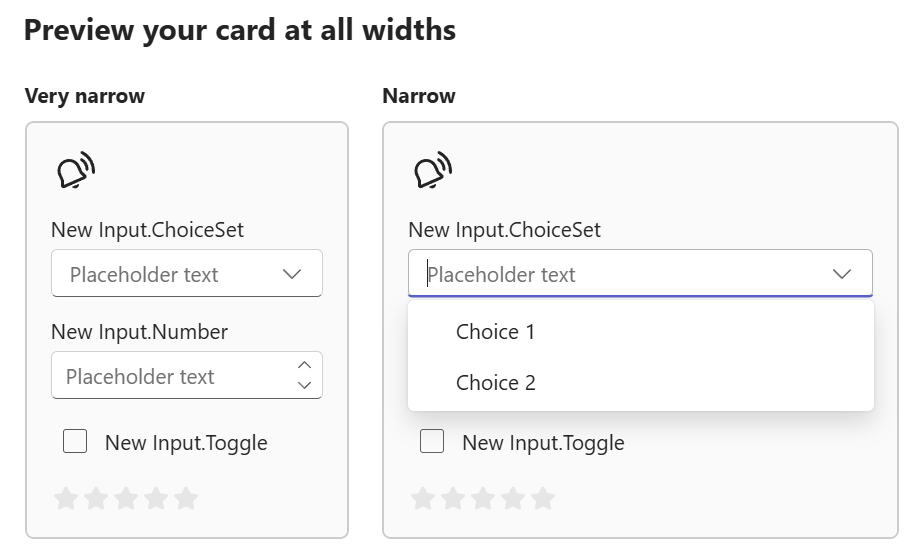
There is a whole other layer to Adaptive Cards that lets you handle input from your users so they can message back to the system. Using the same Adaptive Designer, you can go so far as building your own custom select inputs and actions for users to take when you send them a message – these are called “Action Sets”.
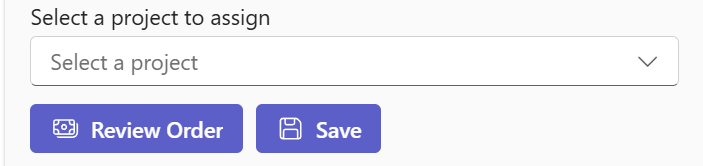
In the example below, I have the users select a project that they want to associate with an order that came in. Before doing so, I provide the URL to the order so they can go and look at it directly before handling the input.
Adding your own Data to the Input
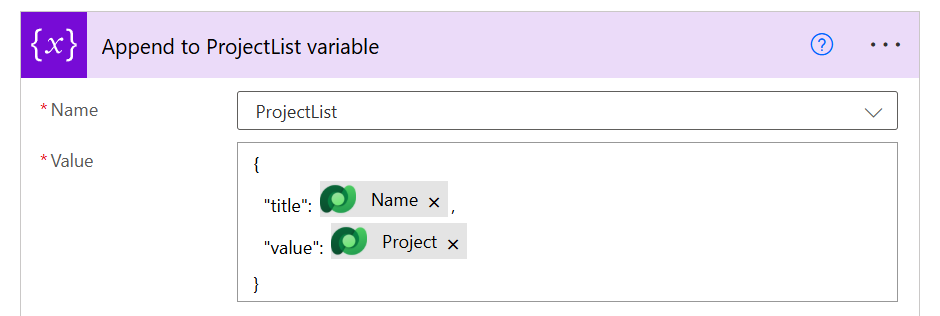
Now, it would be pretty impractical to hard code your data into the adaptive card, because where is the fun in that? As your adaptive card is all JSON, you can see relatively easily that the data is being pulled down JArray, therefore, all you need to do is format your list correctly in the proper format, and you’ll have a continually updating dynamic list.
In my array variable, I simply append the project to the correct format.
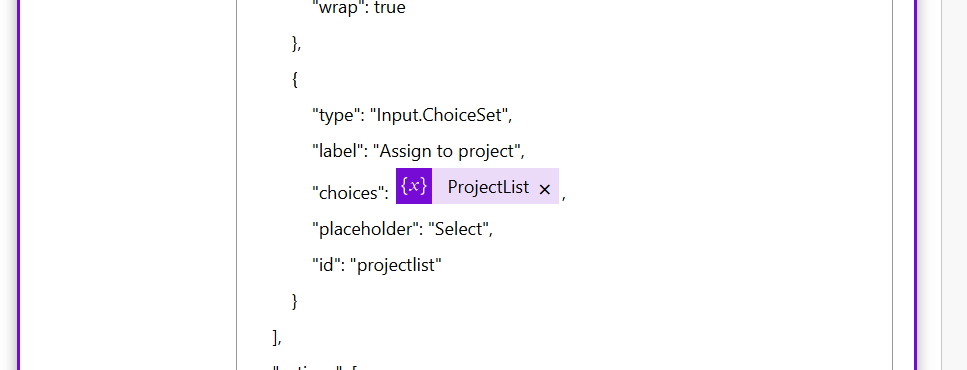
And then sub in my array variable to the adaptive card text.
Handling the Response
When using Adaptive Cards and form elements, if you want to receive the response from the user, you need to make sure you are using the “Post adaptive card and wait for a response”.

When used, during this time, your flow will be waiting for a response from the user. You will want to handle the response using a snippet similar to the one below, where you highlight the action itself, the data, and then the name of your element.
@{body('Post_Adaptive_Question_to_Users')?['data']?['projectlist']}Once complete, you can then assign it to a variable and insert it into other parts of your flow as you see fit.