I’ve been interested in building my own PowerAutomate Connector for a while, because it seemed like a great way to encapsulate the logic of another system into a potential no-code solution that someone else could take advantage of.
I don’t think I made it easy on myself by building the webservice and the connector at the same time, as I was building the interface from one to the other, it got a bit dicey. The main point for building my own connector was that I wanted to push events from one app to another – triggers are a bit more complicated, we’ll focus on that in another post for today, we’ll look at setup and Actions.
Security
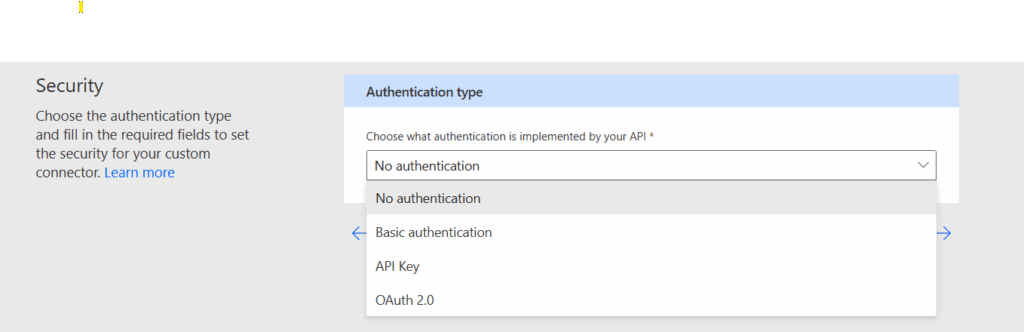
After you get past the general tab, where you select your super awesome name and logo, you have the option to determine how people will authenticate to your app.
Don’t ignore the Security!
Yes, build your app, yes, get it working, but before people start to use it, implement some level of security. The simplest of integrations is your base API key, give it a name
Give it a name, give it a value – I always prefer using Headers – and make it happen.
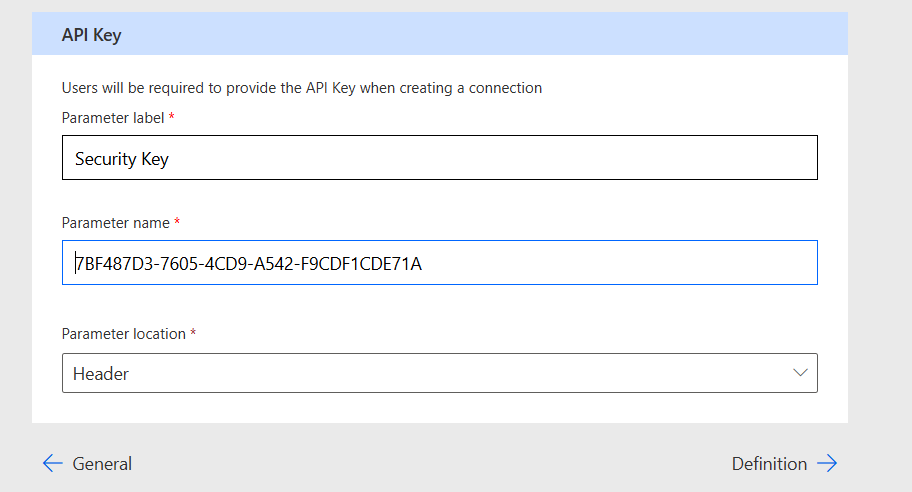
(Not my real key name, not my real value).
Creating your Action
When you’re done with security, the next tab, Definition, is where you are going to spend the bulk of your time. This is where you will define what it is you want your connector to do.
In many areas of your definition and schema, you will see the visibility of what you are creating. This applies to how users will leverage your connector.

Advanced – this shows under the “Advanced Options” tab.
Internal – it’s hidden.
Important – it has a little red star around it, making it required.
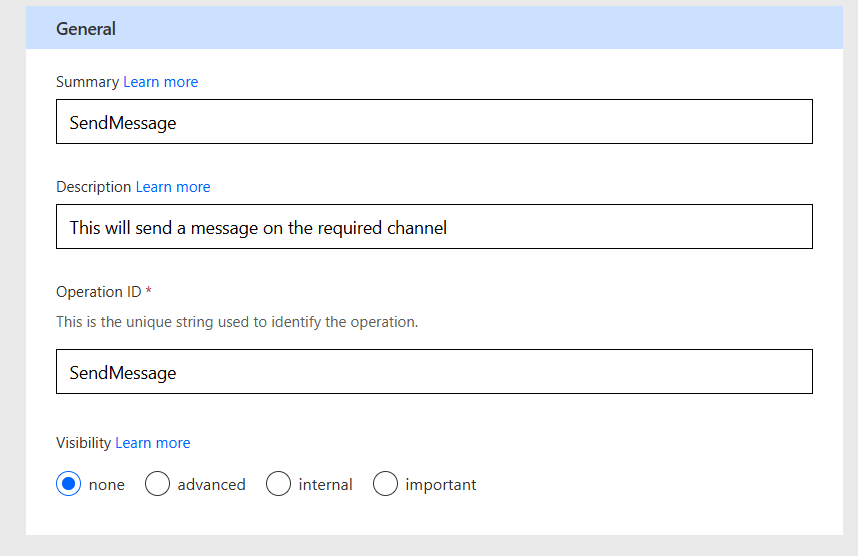
In the general tab of your definition, you will create the name of the Action that will be used publicly in your connector in Power Automate.
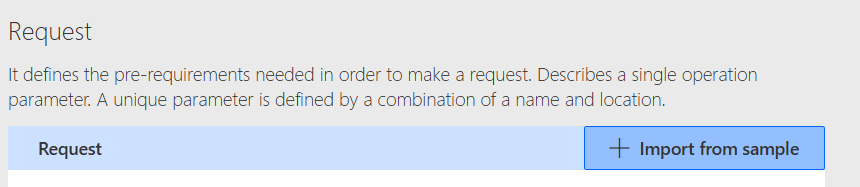
The Request
The next block is the request, and this is the fun part, here, you are going to click the “Import from sample” butto,n which will open a tab which lets you configure the inputs for your service.
Selecting the “Verb” changes what is required to create your action.
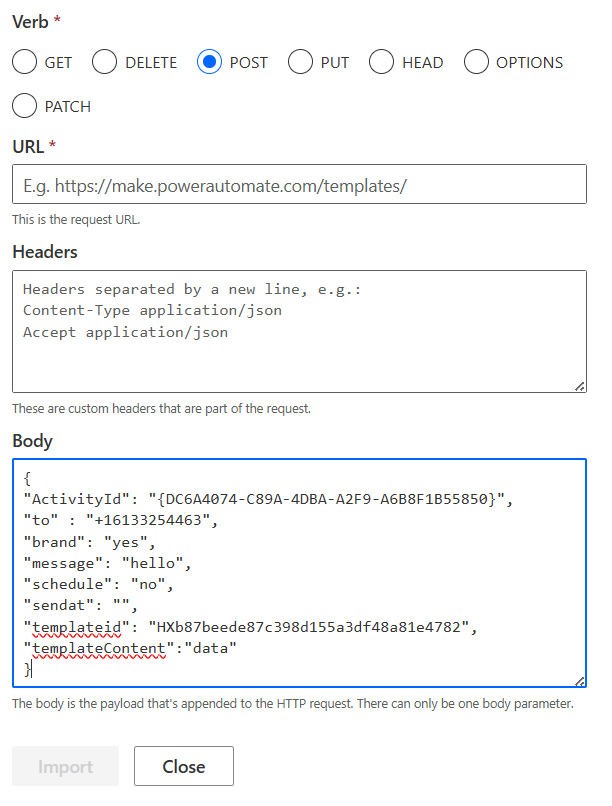
From here, the connector will parse your response into inputs, letting you configure the visibility of each one, and what data types to expect (dates, ints, etc), as well as configuring static or dynamic dropdowns.
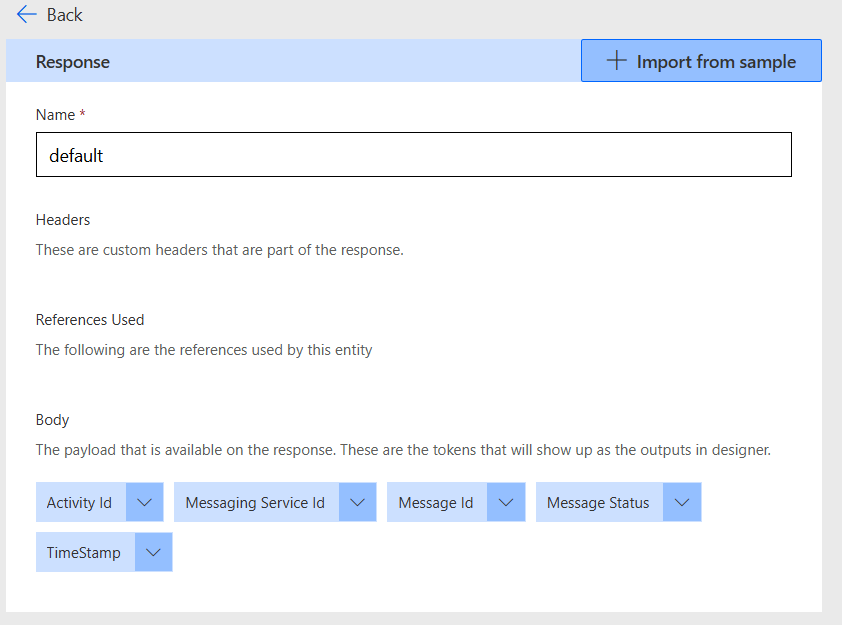
The Response
The response is configured in exactly the same way, but the parameters here are ones that you can then use and trigger in your flow – taking action on or storing somewhere.
When you have completed the definition tab, you can continue into the Code/Test tabs to add more logic, or simply add “update connector” to have your connector add/updated to the connector library.
I didn’t use the Code/Test tabs too much. I found the Test tab to not be as useful as I had hoped it would be in debugging triggers (which were a bit more complicated) and at that point didn’t need them for Actions.
Using the Connector
Now the fun part, calling the coolest connector in the world. Start a new Power Automate Flow, navigate to the custom tab, and your connector should be there.
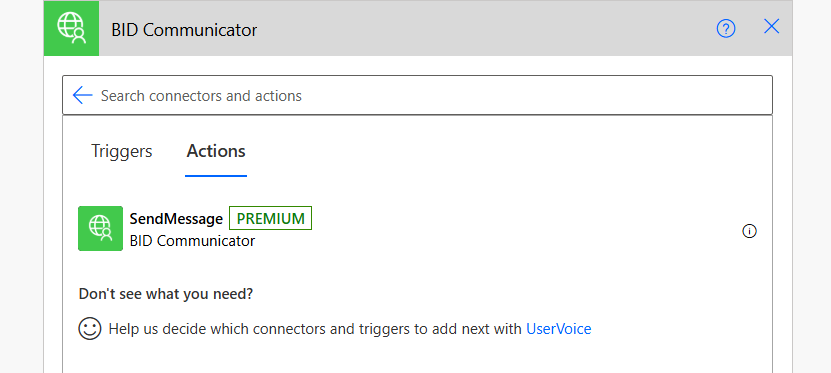
Select the action you want to use, and it is added to your flow.
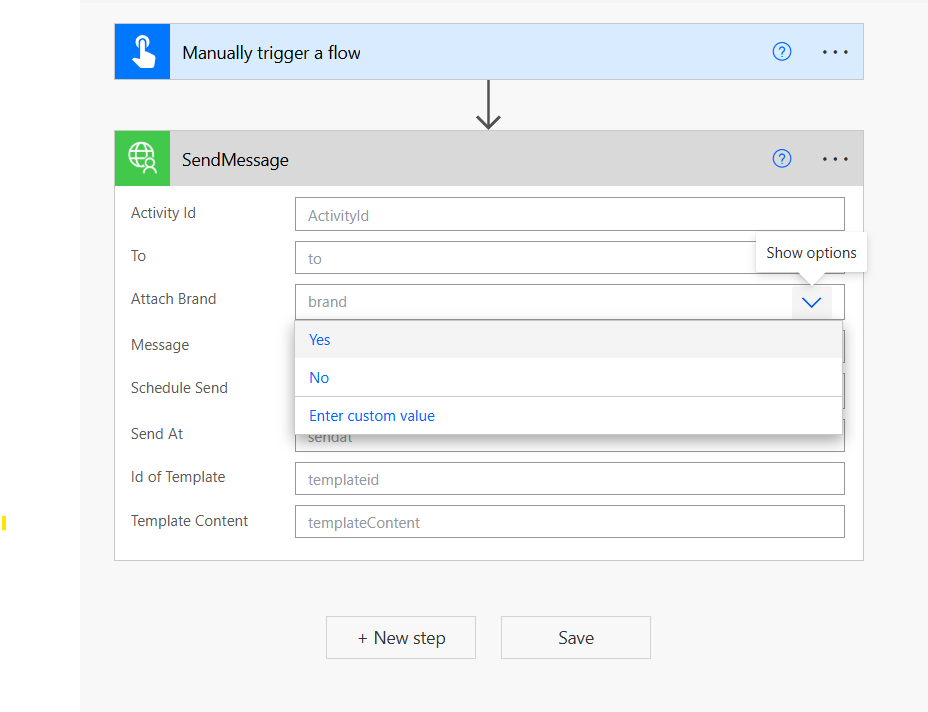
You can see the fields for which we created defaults in our API definition now exist for your users to use.
The second part is where creating a connector gets interesting with triggers, but what I learned about using connectors is that, like any great API, it’s in the design. That design eventually flows down to your connector and then your nocode/citizen developer users – they might not know code and what goes where, but they know simplicity and power and that’s what creating your own connector gives them.