It’s been a while since I had to perform data migration and synchronization work, but a recent project brought me back into the fray, and this time I was using Power Apps Dataflows.
Dataflows are meant to be a lightweight, codeless solution to migrating your data between the Dataverse. And although they do achieve that goal, there is some initial planning you’ll need to do to ensure you set yourself up for success in advance.
The points below were built going from one dataverse environment across to another with the same solution deployed across both environments (one unmanaged and the other managed).
Not all Fields are Exposed in DataFlows
The oddest part of Dataflows is that not all fields are exposed. Alone, this is fine, but it would be nice to know WHY they aren’t exposed or able to be migrated. When jumping into Dataflows, this can be a bit frustrating as you spend more time looking for your fields than doing the actual migration.
Case in point, the parentbusinessunitid field is not exposed via Dataflows, making it nearly impossible to correctly migrate your business units as they relate to each other into your new environment. If you are to use Dataflows, check to see whether the fields you want to migrate are all supported.
Alternate Keys
When looking at dataflows, I honestly thought there would be some GUID wizardry going from Dataverse to Dataverse – there wasn’t – and this brought back all my lessons of doing third-party data migrations with Scribe, Kingsway, and C# solutions – the key is the key!
When migrating data, if you are looking to get to a point of doing incremental refreshes and/or updates to existing records (so you are not duplicating data), you are going to need a key. To do this in PowerApps, you need to create an Alternate Key that points to a unique piece of data in your table.
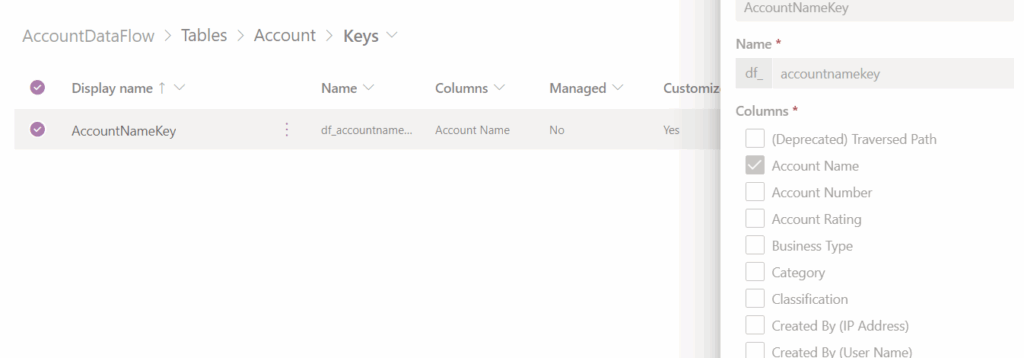
Regarding my first point about columns not appearing in the migration window when migrating data. If you don’t see your columns, it’s most likely because you don’t have a proper key matched. When you update the key, your column will show in the mapping view.
Identify what you are going to migrate, and ensure you have a key to assist in the migration.
I had a scenario where I had two one-to-many relations on my account entity, and I had to go down the path to create an auto-number field in the related entity so I had a key that I could migrate to.
As an aside, creating fields to store lookup ids from other systems is not new; I have done this with many other systems, especially when you need to track the legacy id from the previous system.
Dataflows Run in the Environment they Import To
I’m not sure if this saves a step in configuration, but it’s worth noting, the Dataflow you create executes to the target that you are importing data into. So in the below example, the “Migrate FROM TST” flow pulls data from TST into DEV, but the “Move Data to TST” will fail.

When creating a new Dataflow, you can only select the source of the import you are trying to execute.
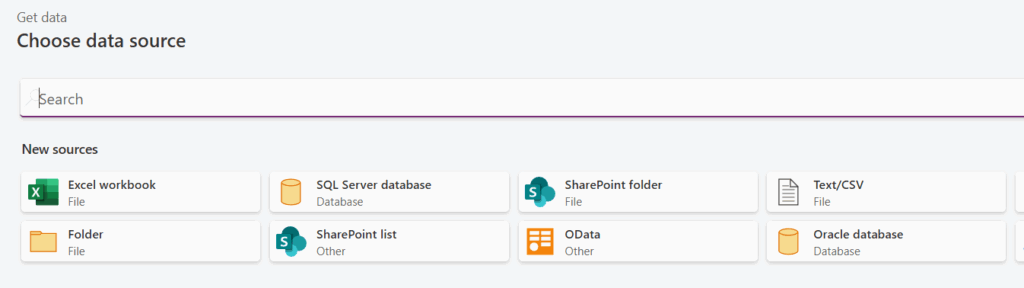
Table Load Options
Compared to other tools I have worked with, I did like the configuration for data migration settings (which in this version is in preview)
I have never loaded data to a “new table” in any migration. If you were doing a first-time load, this could work. But for Dataverse applications, I’m not even sure how this would work – if you’ve already deployed your managed solution, you’d be creating new tables in the default solution?
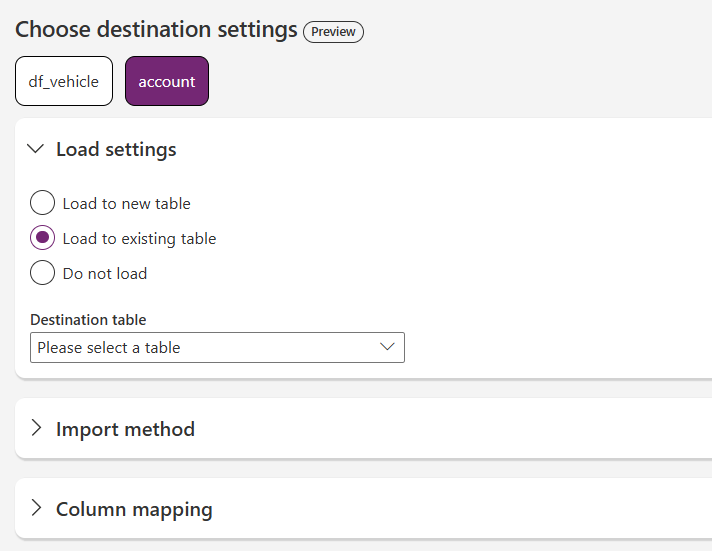
I liked this view for deciding on what to do with your data when it’s migrated, if you’re doing a pre-delete operation, you could get away with doing Append.
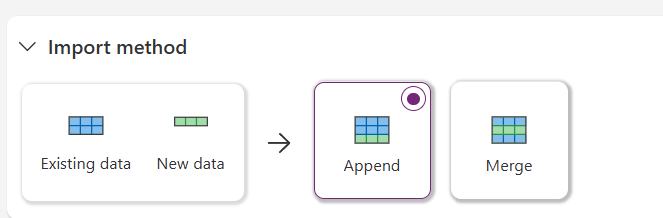
When merging data, this is where your Alternate Keys can come in; there is an automagic version for the primary key when you select the default accountid but in my tests, this did not work on successive runs.
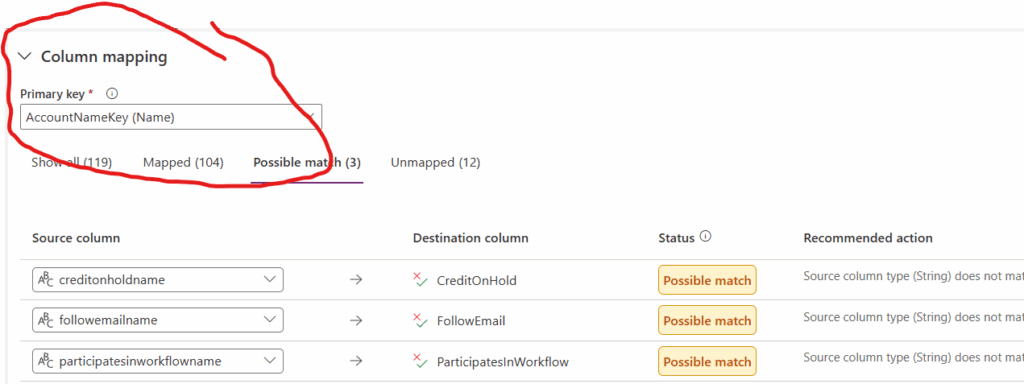
If you’re unfamiliar with migrating data into the Dataverse, the usage of “name” columns is an extension of your entity references that allows you to compare the actual value (not the lookup ID itself) with your data before transferring over. This is where our Alternate Keys come in handy.
Some of the above might seem out of place because we haven’t discussed the “how-to” on doing the actual migrations, but as it is with data migrations, even the smallest ones can be tricky and require some careful planning before you jump into them.
One Flow Does Not Rule Them All
Lastly, it’s important to note that you don’t need to put all of your work into Flow. You can architect your data into multiple segments that make sense for you, which are triggered in a sequential fashion to ensure the proper migration of your data. Putting all your work into one flow can be difficult to troubleshoot as you work through your bugs (and there will be bugs).