I wrote a post a while ago about how to set up, build, and run Node.js Azure Functions manually from your desktop. And while it was a nice “Getting Started”, no one wants to do anything manually, and nothing looks cool when done manually.
This follow is focused on automating the deployment of your Node.js function from your GIT repository to Azure using YAML. For this walkthrough, I’m using an Azure DevOps project with a GIT repository coupled to my Azure Portal.
So in essence, this assumes that you might not be setting everything up in the perfect order or from ground zero the first time, and as a result, you are going to need to “integrate” things.
Note: I know at “some point” Azure DevOps is going away, I’m not sure, I hear stories that this is ten years out, which in today’s product life cycles could be three years. Who knows?
Setting up your Build Script
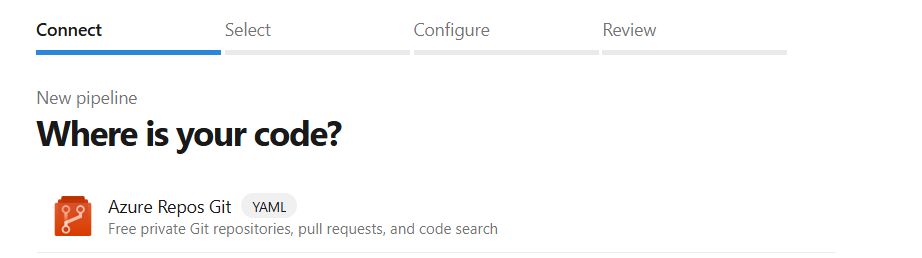
If you have already committed your code to a GIT repo, the next steps are pretty straightforward, as DevOps will walk you through the prompts of selecting the repo you want to deploy and then setting up your Azure Service Connection.
Your Azure Service Connection
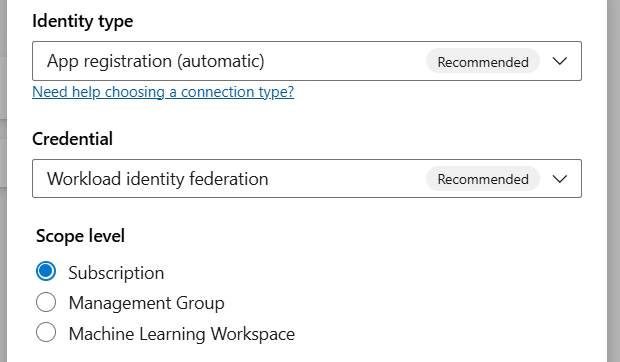
Previously (and still to this day), you had the option to set up your Azure Service Connection using an App Id/Secret combo. This is great until the secret expires and you need to go find your Azure Admin and ask them to set up a new key, which involves potentially many IMs and emails.
What you should be looking to use is the “Workload Identity Federation” credential, as this allows you to set up a Managed Identity Credential with no secret to be used.
If you don’t setup your build correctly the first time, no biggie, you’ll receive a prompt to have DevOps make the change for you, and all is right with the world. More information on the “Convert” function is available here.
Your YAML Code
The first time through, you might not get all that you need to deploy your code to Azure Function, because you are deploying a Node.js Azure Function, which requires a few dependencies in order to be able to build properly. The script below is an example of a deployment that works end-to-end for our project.
trigger:
  branches:
    include:
      - main

variables:
    azureSubscription: 'SuperNodeDeploymentService'   # Replace with your Azure DevOps service connection
    functionAppName: 'SuperShipNode'                 # Replace with your Azure Function App name
    packagePath: '$(System.DefaultWorkingDirectory)/$(Build.BuildId).zip'

jobs:
- job: BuildJob                # internal job name
  displayName: '🛠️ Build Node.js Azure Function'

  pool:
    name: 'Default'

  steps:

  - task: NodeTool@0
    inputs:
      versionSpec: '16.x'               # Use your Node.js version here
    displayName: 'Install Node.js'

  - script: |
      npm install
      npm run build                    # If you have a build script, else remove this line
      npm prune --production           # Remove dev dependencies to reduce package size
    displayName: 'Install dependencies and build'

  - task: ArchiveFiles@2
    inputs:
      rootFolderOrFile: '$(System.DefaultWorkingDirectory)'
      includeRootFolder: false
      archiveType: 'zip'
      archiveFile: '$(packagePath)'
      replaceExistingArchive: true
    displayName: 'Archive function app files'

   - task: AzureFunctionApp@1
     inputs:
       azureSubscription: $(azureSubscription)
       appType: 'functionAppLinux'
       appName: $(functionAppName)
       package: $(packagePath)
     displayName: 'Deploy Azure Function App'
The Important items to point out;
- We are installing the node dependencies first.
- We are using the AzureFunctionApp@1 task to deploy our project.
- Things like “displayName” can be added to give your tasks and jobs more meaningful names (it drives me nuts to see “job1” all the time, so this helped greatly… and I like the little rocket ship!
At this point, the next time you make a commit, you should see the code from your local VsCode deploy and have it deployed to your Azure Function.